


 Printer Friendly Version
With QuickBooks, you can print checks individually, or in a batch of checks all at one time, as shown here:
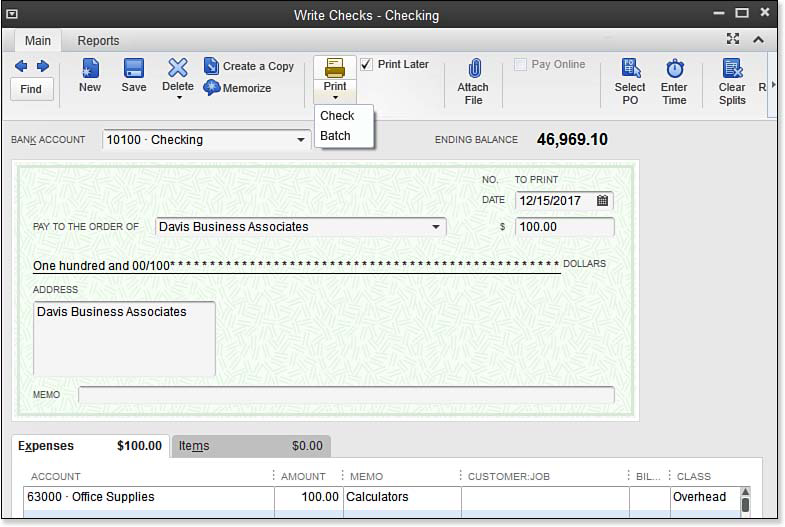
To print a check, or a group of checks, follow these steps:
- If the Write Checks transaction isn’t already open, select Banking, Write Checks from the menu bar, and prepare your check for printing.
- In the Print drop-down list, select from the following:
- Print—Enter the check number you are printing to.
- Print Batch—Select the Bank Account. Enter the First Check Number and remove the checkmark for any check you will not be printing in the batch.
- The Print Checks dialog box displays. Change the defaults as necessary.
- If you are printing a single check using the Standard or Wallet check style, click the Partial Page tab. Review the settings specific for how your printer needs the single check to be positioned before printing.
Click the Print button to print your checks. The Print Checks—Confirmation dialog box displays as shown in the image below:
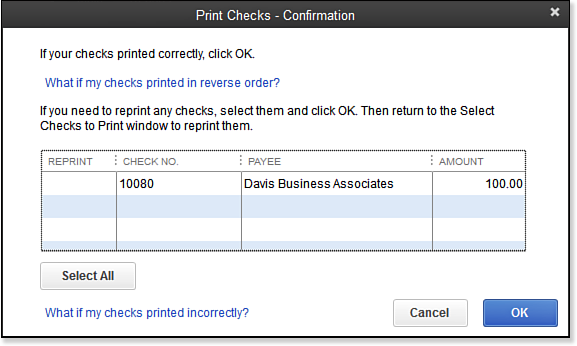
Make sure that each check printed correctly before selecting OK on the Print Checks—Confirmation dialog box.
Review the checks that just printed. If each check printed successfully, click OK on the Print Checks—Confirmation dialog box. If any check did not print successfully, place a checkmark in the Reprint column. You can return to step 2 and reprint the checks selected.
Here’s another tip from Laura Madeira’s QuickBooks 2013 In Depth: You can review both printed and to be printed check transactions by clicking the Check Register icon on the Home page, and selecting the appropriate bank account.
From Laura Madeira’s QuickBooks 2013 In Depth